The quick bar is an idea I borrowed[1] from Citymapper, which is my current favourite iOS travel app. Citymapper used to be a fairly run of the mill iOS app, with fairly limited function - then WHAM, it became this feature-insane[2], flat-in-the-Google-style, joy to use app.
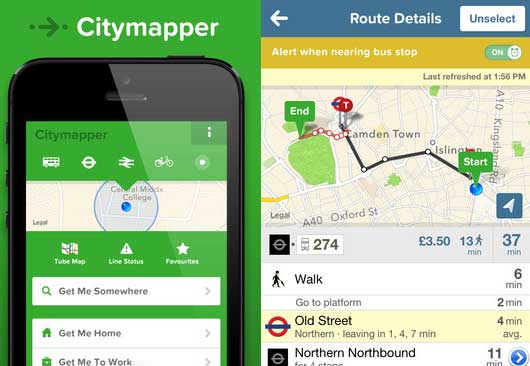
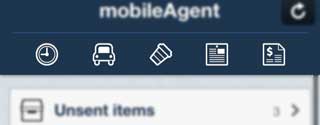
Looking at mobileAgent, I was always a bit unhappy with the way the top 4 or 5 items showed up. They took up a lot of space without really adding any huge value. The quick bar design style was kind of an obvious way to do it.
The bar is quite easy to do in a slightly hackey way (which was good enough for this)[3].
When you create your RootElement, after assigning it to the DialogViewControllers root, create a TableHeaderView which has nothing in it, but is the right height:
TableView.TableHeaderView = new UIView (new RectangleF (0, 0, 320, 44)) {
	BackgroundColor = UIColor.Clear
};
In this case, mine is 44dp high. This creates a gap at the top of your UITableViewController the same size as the toolbar.
Then, create a tool bar, and add it into the parent controller, so it floats over the top
UIToolbar toolbarview;

....


if (toolbarview == null)
{

	toolbarview = new UIToolbar (new RectangleF (0, 64, 320, 44));

	toolbarview.SetItems (new [] {
		new UIBarButtonItem(UIBarButtonSystemItem.FlexibleSpace),
		new UIBarButtonItem(StockImages.Clock, UIBarButtonItemStyle.Plain, AddTimeslip),
		new UIBarButtonItem(UIBarButtonSystemItem.FlexibleSpace),
		new UIBarButtonItem(StockImages.GasPump, UIBarButtonItemStyle.Plain, AddMileage),
		new UIBarButtonItem(UIBarButtonSystemItem.FlexibleSpace),
		new UIBarButtonItem(StockImages.Expenses, UIBarButtonItemStyle.Plain, AddExpense),
		new UIBarButtonItem(UIBarButtonSystemItem.FlexibleSpace),
		new UIBarButtonItem(StockImages.Bill, UIBarButtonItemStyle.Plain, AddBill),
		new UIBarButtonItem(UIBarButtonSystemItem.FlexibleSpace),
		new UIBarButtonItem(StockImages.Receipt, UIBarButtonItemStyle.Plain, AddReceipt),
		new UIBarButtonItem(UIBarButtonSystemItem.FlexibleSpace)

	}, false);

	this.ParentViewController.View.Add (toolbarview);
}
(The null check is because I tend to recreate the root a bit often in this app - did I mention this app a bit like a very old dog....)
The actual look and feel is done with UIAppearance, however because there is only one of these, you could also style it directly by calling .SetBackgroundImage on toolbarview.
A small problem with this is that it stays there if I push another view onto the stack (which happens in a few places on this view). Thats easily solved with a little animation:
public override void ViewWillDisappear (bool animated)
{
	base.ViewWillDisappear (animated);
	if (toolbarview != null && toolbarview.Superview != null)
	{
		UIView.Animate (0.5f, delegate {
			toolbarview.Alpha = 0f;
		}, delegate {
			toolbarview.RemoveFromSuperview();
		});
	}
}

public override void ViewWillAppear (bool animated)
{
	base.ViewWillAppear (animated);
	if (toolbarview != null )
	{
		toolbarview.Alpha = 0f;
		ParentViewController.Add (toolbarview);
		UIView.Animate (0.5f, delegate
		{
			toolbarview.Alpha = 1.0f;
		}, null);
	}
}
I think the result is fairly subtle, and frees up a lot of space, incase FreeAgent decide to do something like expose the summary information via the api (hint hint :) )
In the last part, I'm going to suggest some ways to keep images, fonts and colours consistent in your apps.
OK, stole ↩︎
More the "feature rich". Way more. It even has transit times by catapult and jetpack! And its quite different in focus to my app, Nearest Bus ↩︎
It's hackey because the scroll bar sits UNDER the quickbar. you could insert the quickbar between the header and the UITableView, but I decided not to - it's not very noticeable (certainly not by my users), I suspect it might only be me who's noticed. ↩︎
